Instructions
Step 1: The custom field must exist as a tag. If the field does not exist as a tag, if you are an administrator create a new tag, or if not, ask an administrator to create the tag for you.
Step 2:
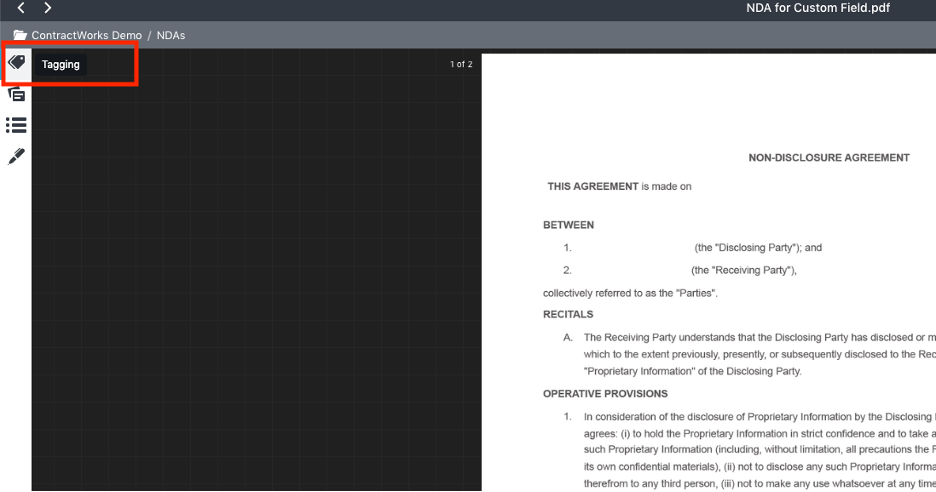
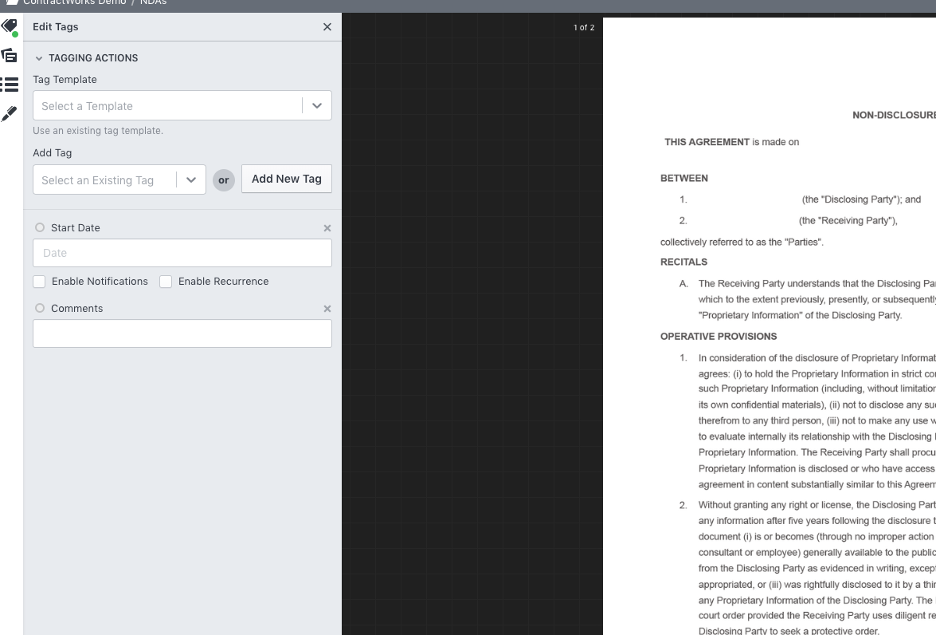
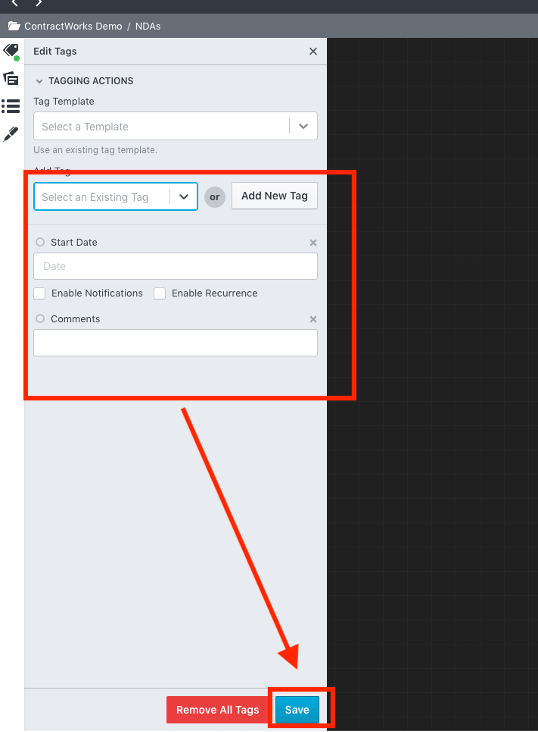
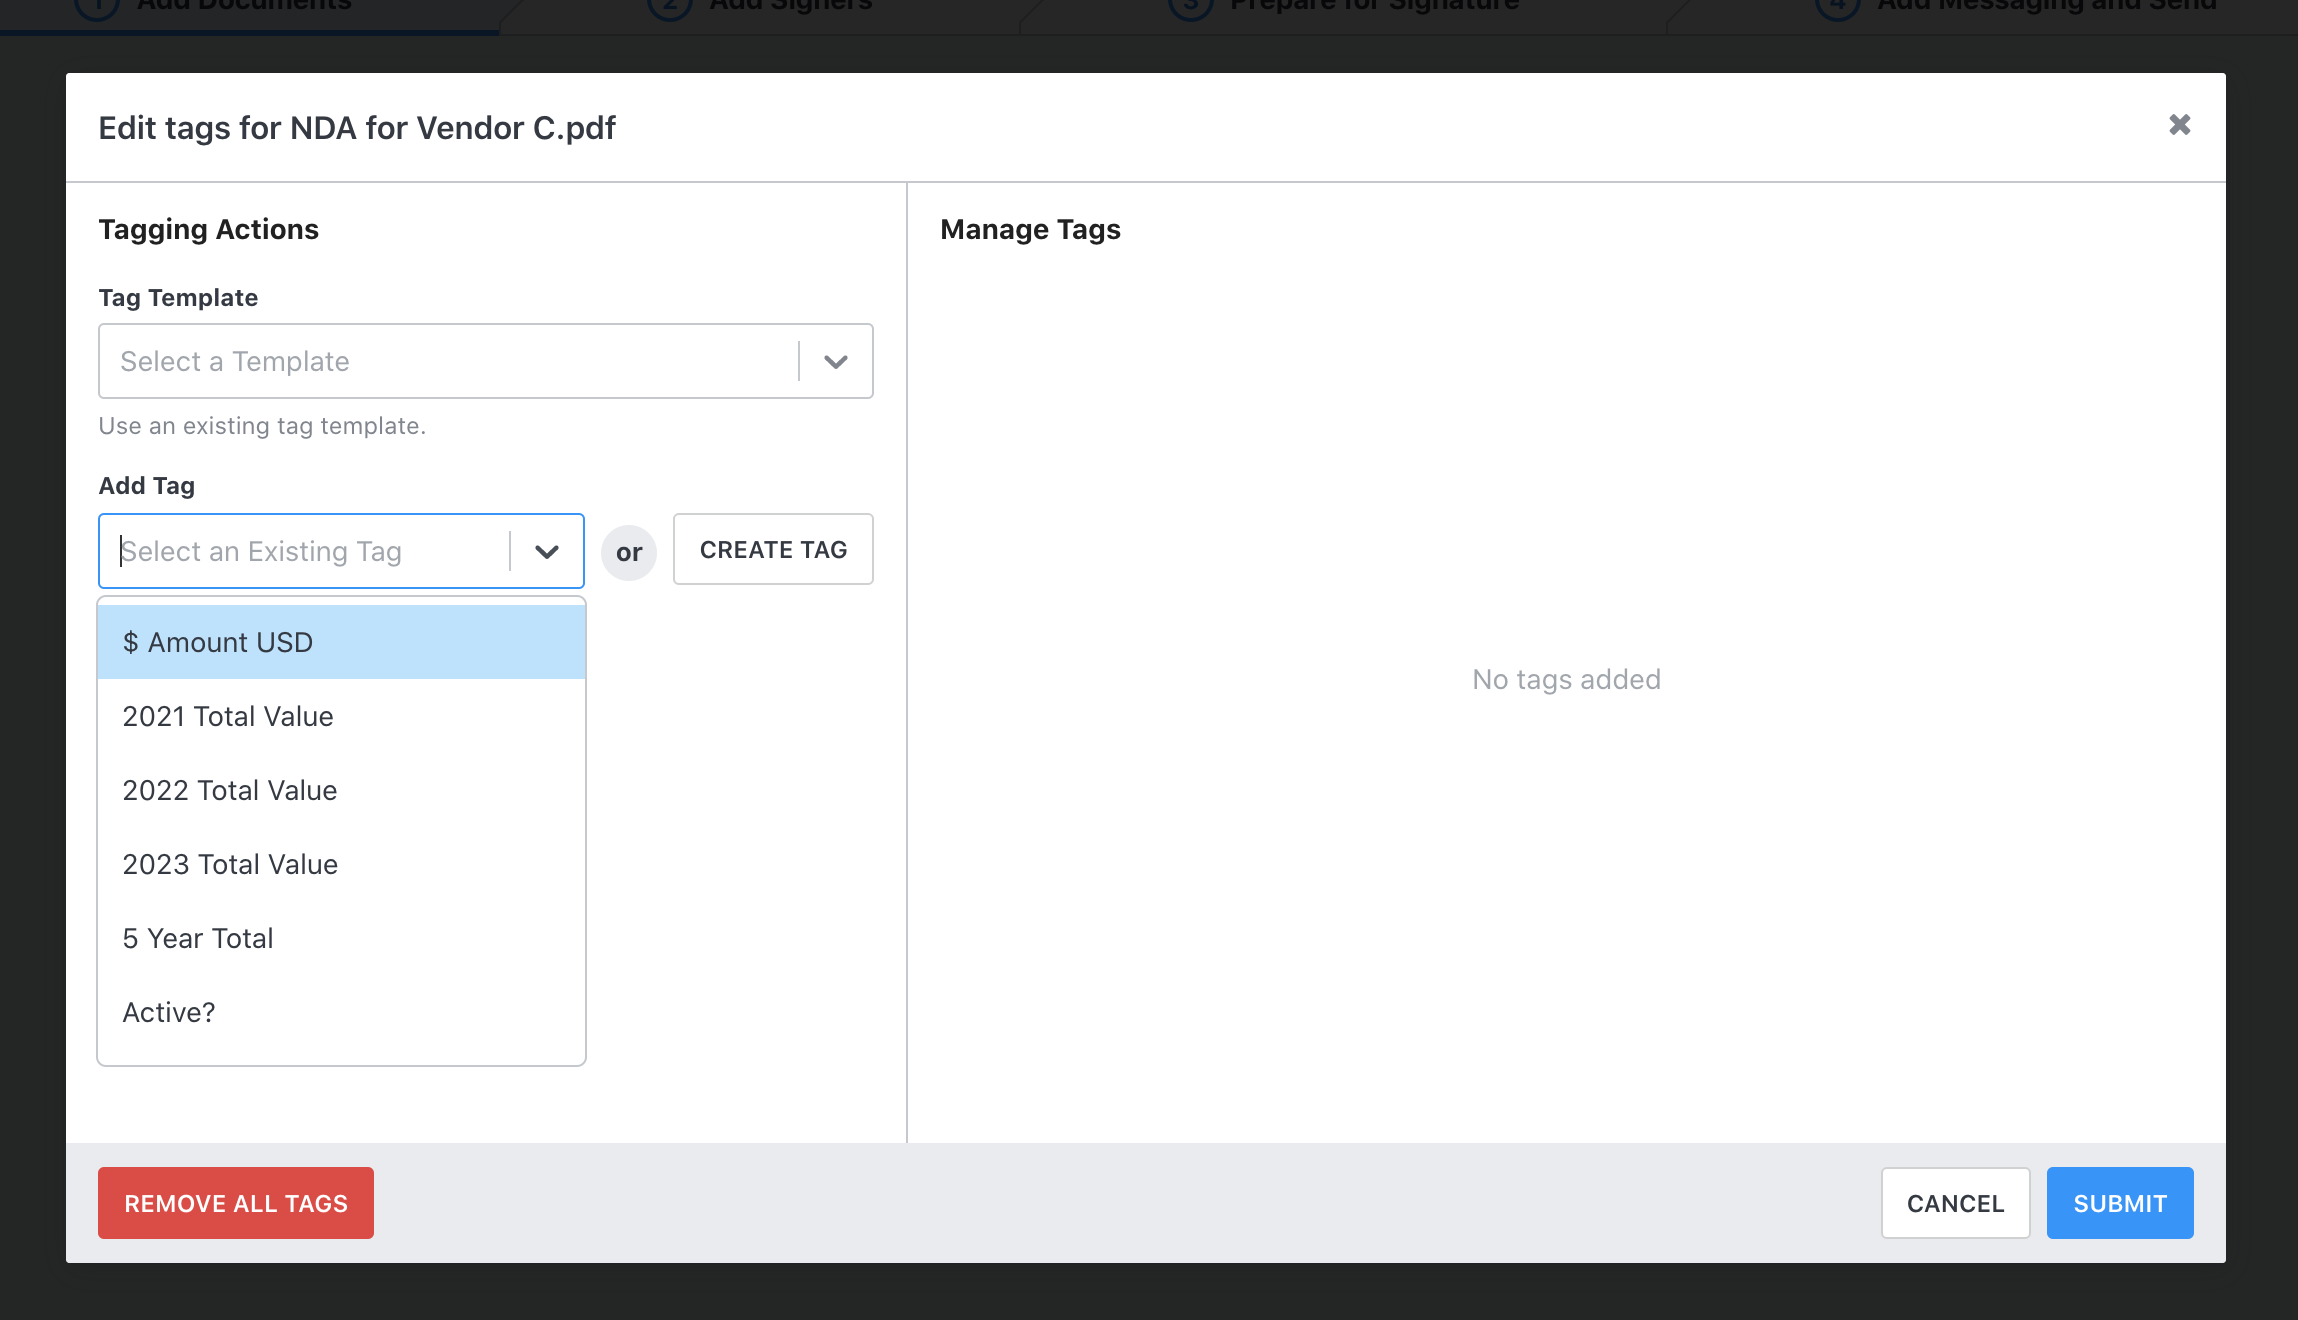
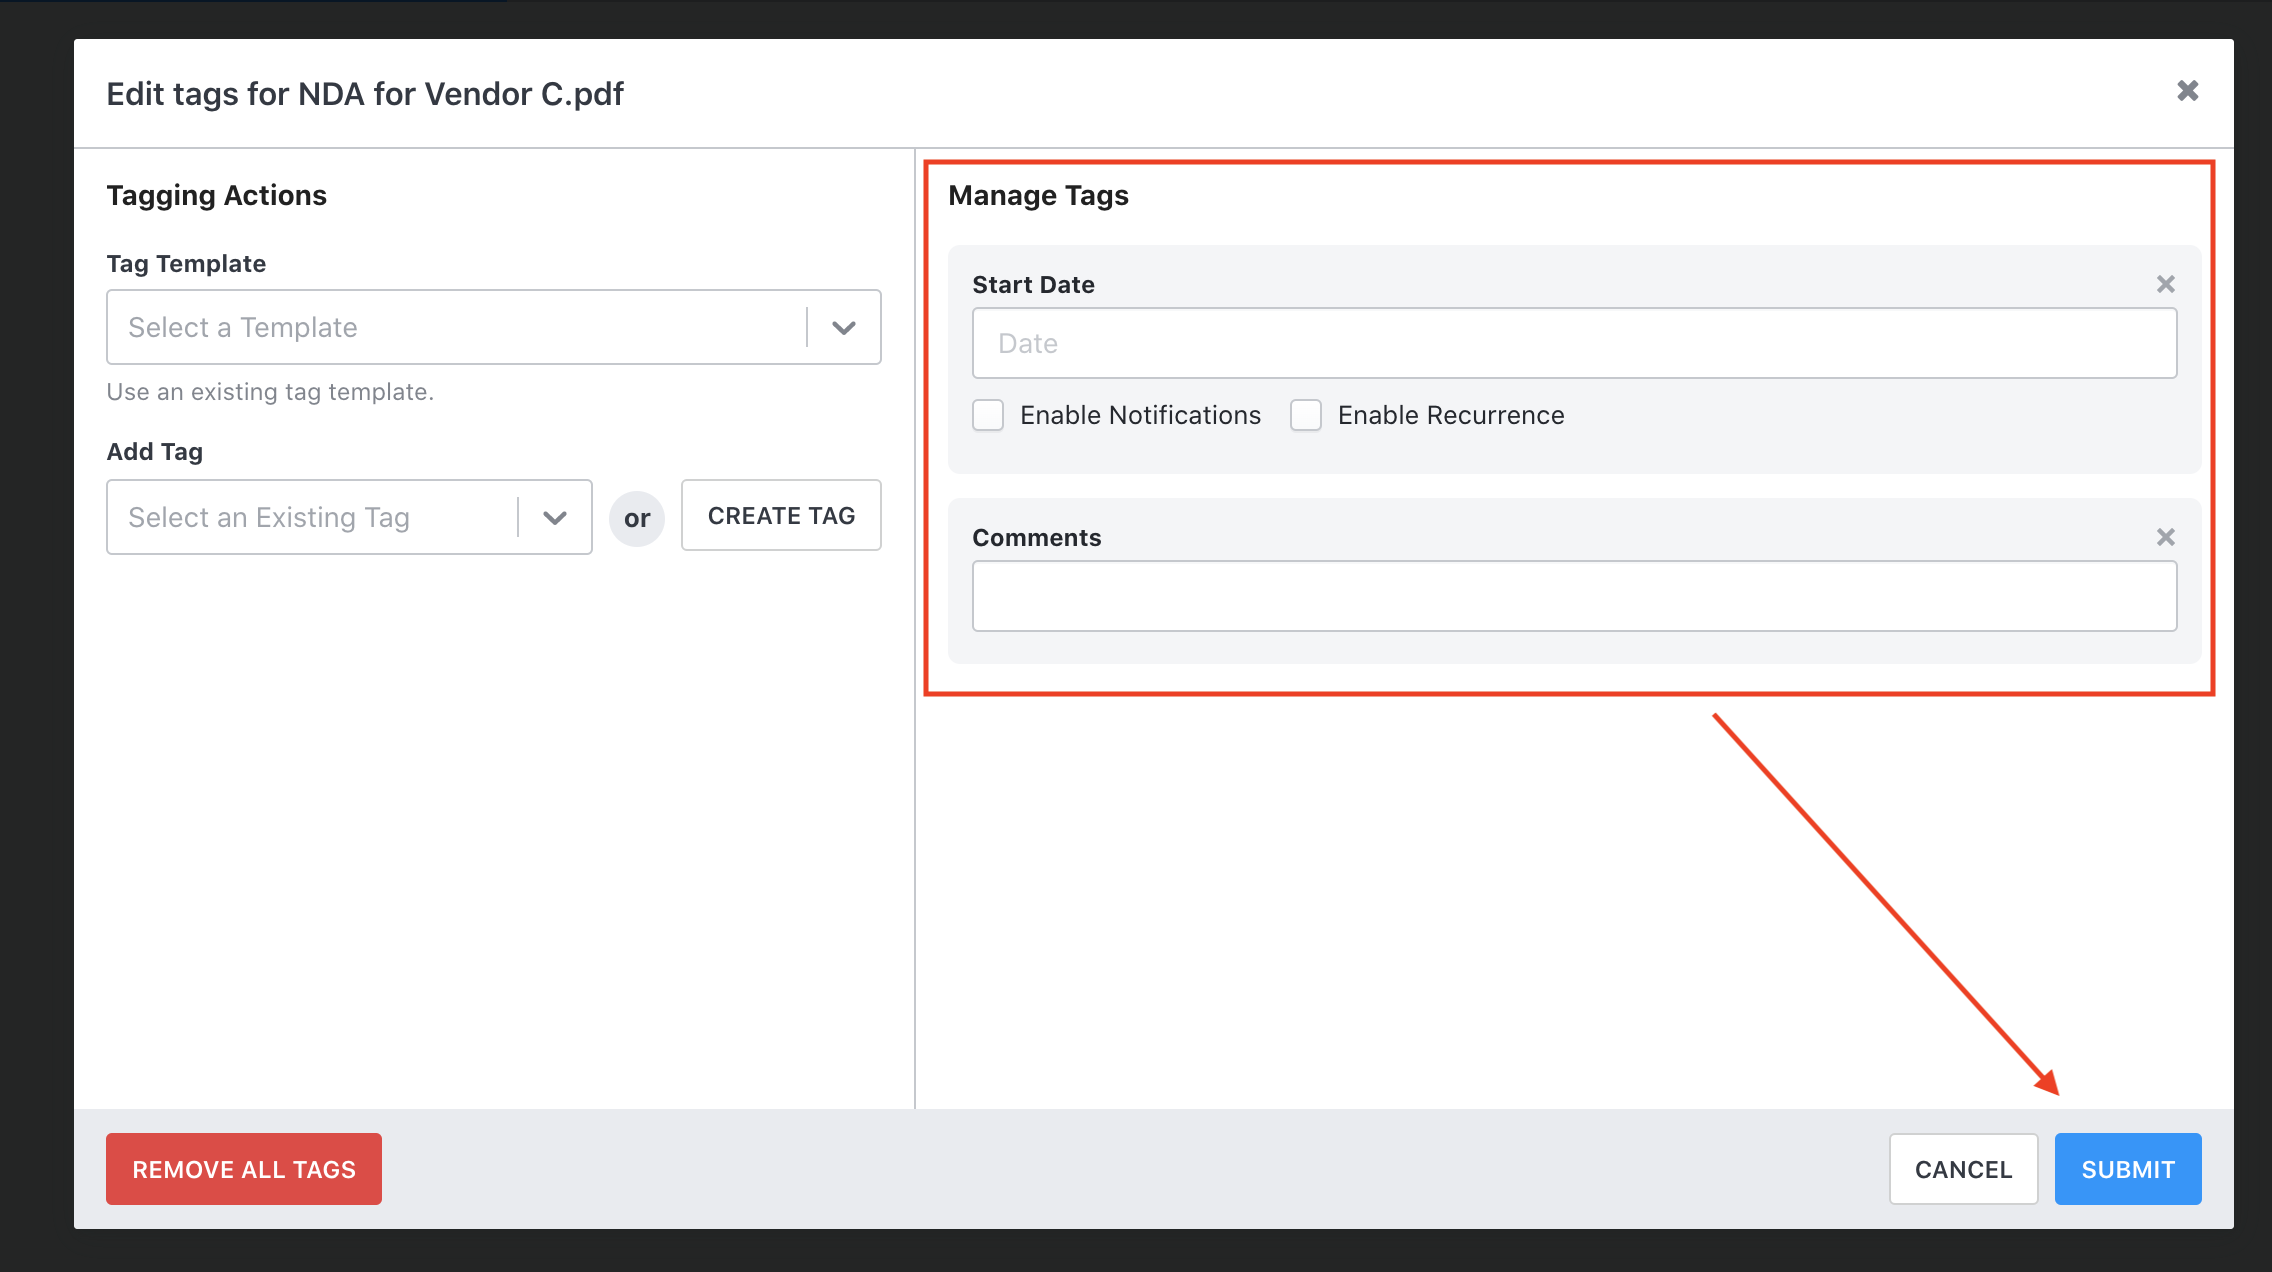
Option 1: On the document you are applying custom signature fields for, you must first bring in the tag to the tag section. Click into the tag section of the document, and enter in a tag template, or the fields you need signed from the ‘select an existing tag’ dropdown. Save your changes and proceed through the E-Signature packet set up where the fields will appear in Step 3 when you are assigning fields to signers.
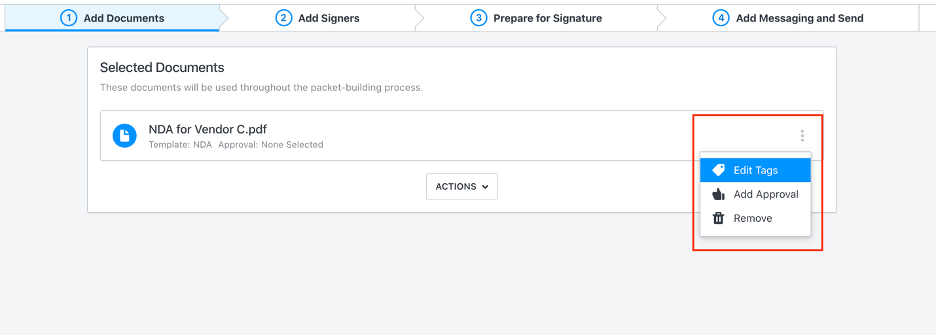
Option 2: Within the packet builder and when creating a new packet you are able to edit the tags on Step 1 using the actions bar. Bring in all relevant tags and submit.
Step 4: Continue to move through the E-Signature packet builder, adding in signers as normal in Step 2.
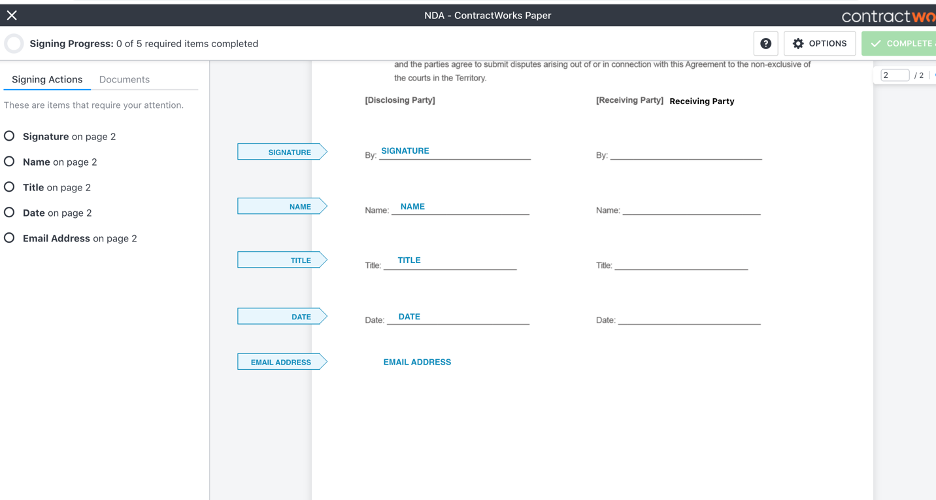
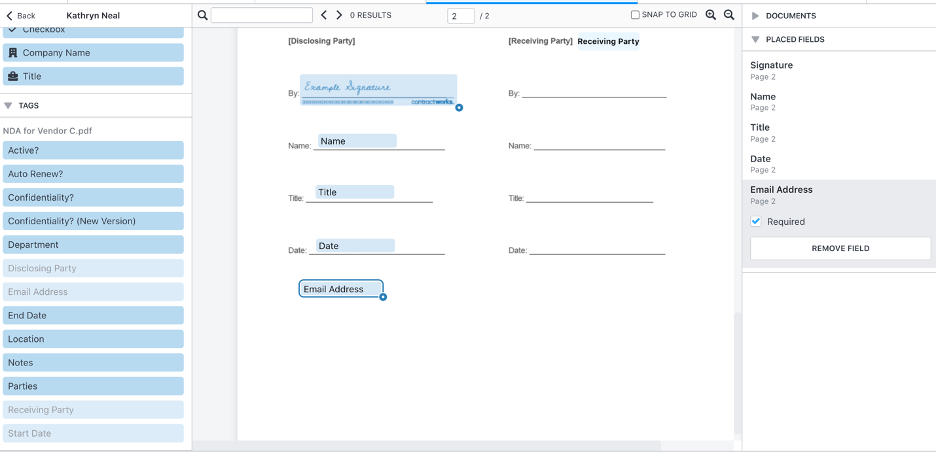
Step 5: As you are entering in your signer fields in Step 3, you will notice a tag icon at the end of your options. Click on this tag to bring in your custom field(s) for the signer you are working with. If another signer needs to fill out the information, make sure they are selected at the top first.
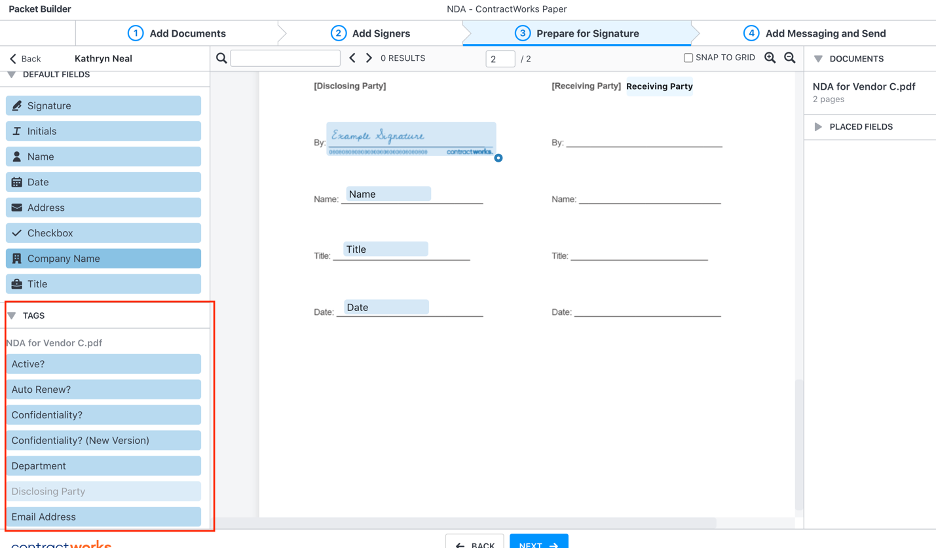
Step 6: Select the correct field you would like your signer to fill in and drag it onto the document as you would a normal field. Note, you can only fill out a custom tag once on the document. Once used, the tag cannot be used again.
Step 7: Continue to send the document normally through Step 4. Once sent, the signer should now be responsible for filling out the value(s) on your customized tag(s).