Instructions
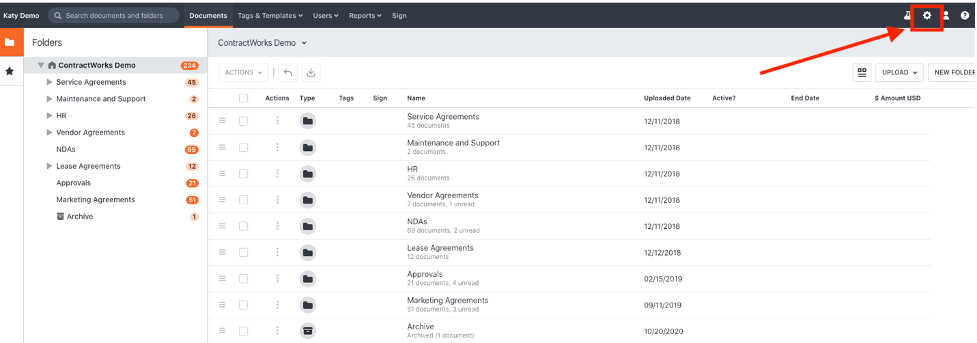
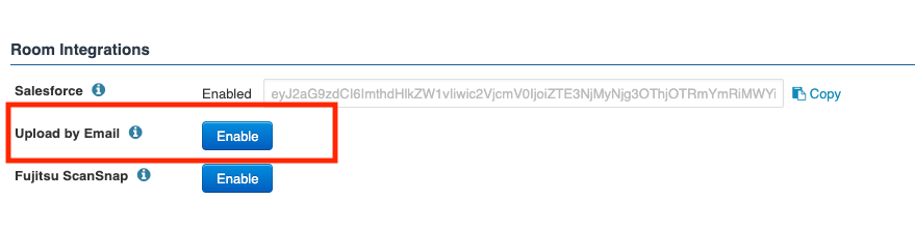
Step 1: Turn on the Email integration under the Settings tab, under the Room Integrations section toward the bottom of the page.
Step 2: Enable the upload by email by shifting the bar to Active. This will bring up a folder dropdown.
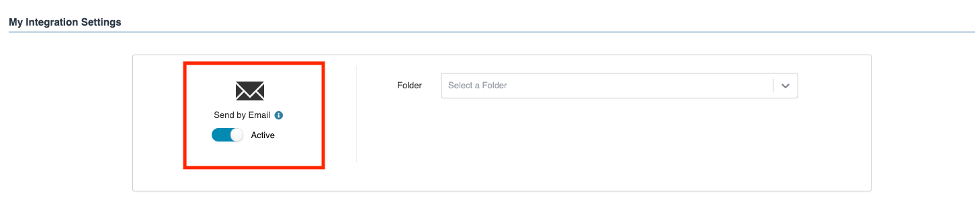
Step 3: Choose a folder to upload to under the dropdown bar

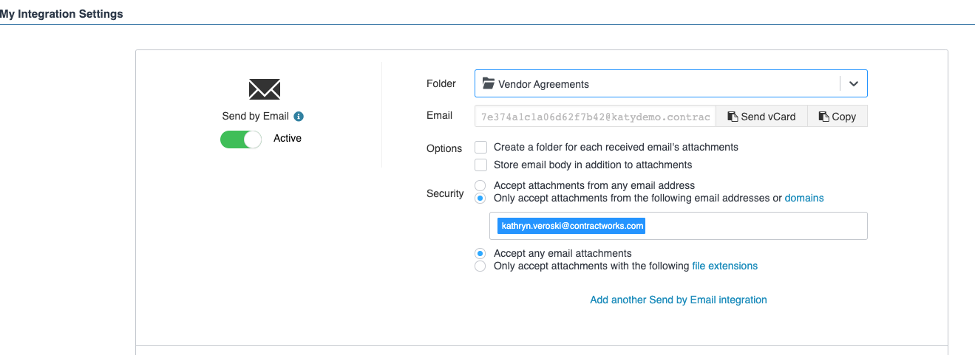
Step 4: A unique email will appear with several administrator options for this folder. As an administrator you can choose:
- Who can email into this folder, admins can enter in the company domain, so any person with your company email domain can upload using the email
- If you would like to store the email body in addition to the attachments
- What kinds of documents you would like uploaded. If accepting all attachments, sometimes items such as signature logos will be uploaded. You can also choose to only accept certain file types (PDFs, Word Documents, Excel files, etc.)
Tips and Tricks
- The email is typically a long, bulky address. In order to simplify the email address, here are some steps we recommend:
- Save this email as a contact under a shorter name (Contracts Folder, Contracts Email) and when emailing in your address book can automatically populate this email
- If many users will be using this feature, your IT team can populate a separate, simpler internal email address that forwards to the address provided by ContractWorks. For example, creating an email such as contracts@yourdomain.com which forwards into the ContractWorks generated email address
- If using a company scanner, and the scanner has an email option, you can populate this long email to directly scan documents into the system. Most copiers will also house that email under the “recently used” section so you do not need to manually input each scan