Summary
When an E-Signature template has been created, users with an E-Sign license will have access to create and send out those template contracts for E-Signature directly from ContractWorks. The sender will be prompted to fill in any informational tags placed on the document as well as the signer information that relate to the specific contract they are creating. Note that only pre defaulted fields can be adjusted, the contract language cannot and must be done outside of the system.
Instructions
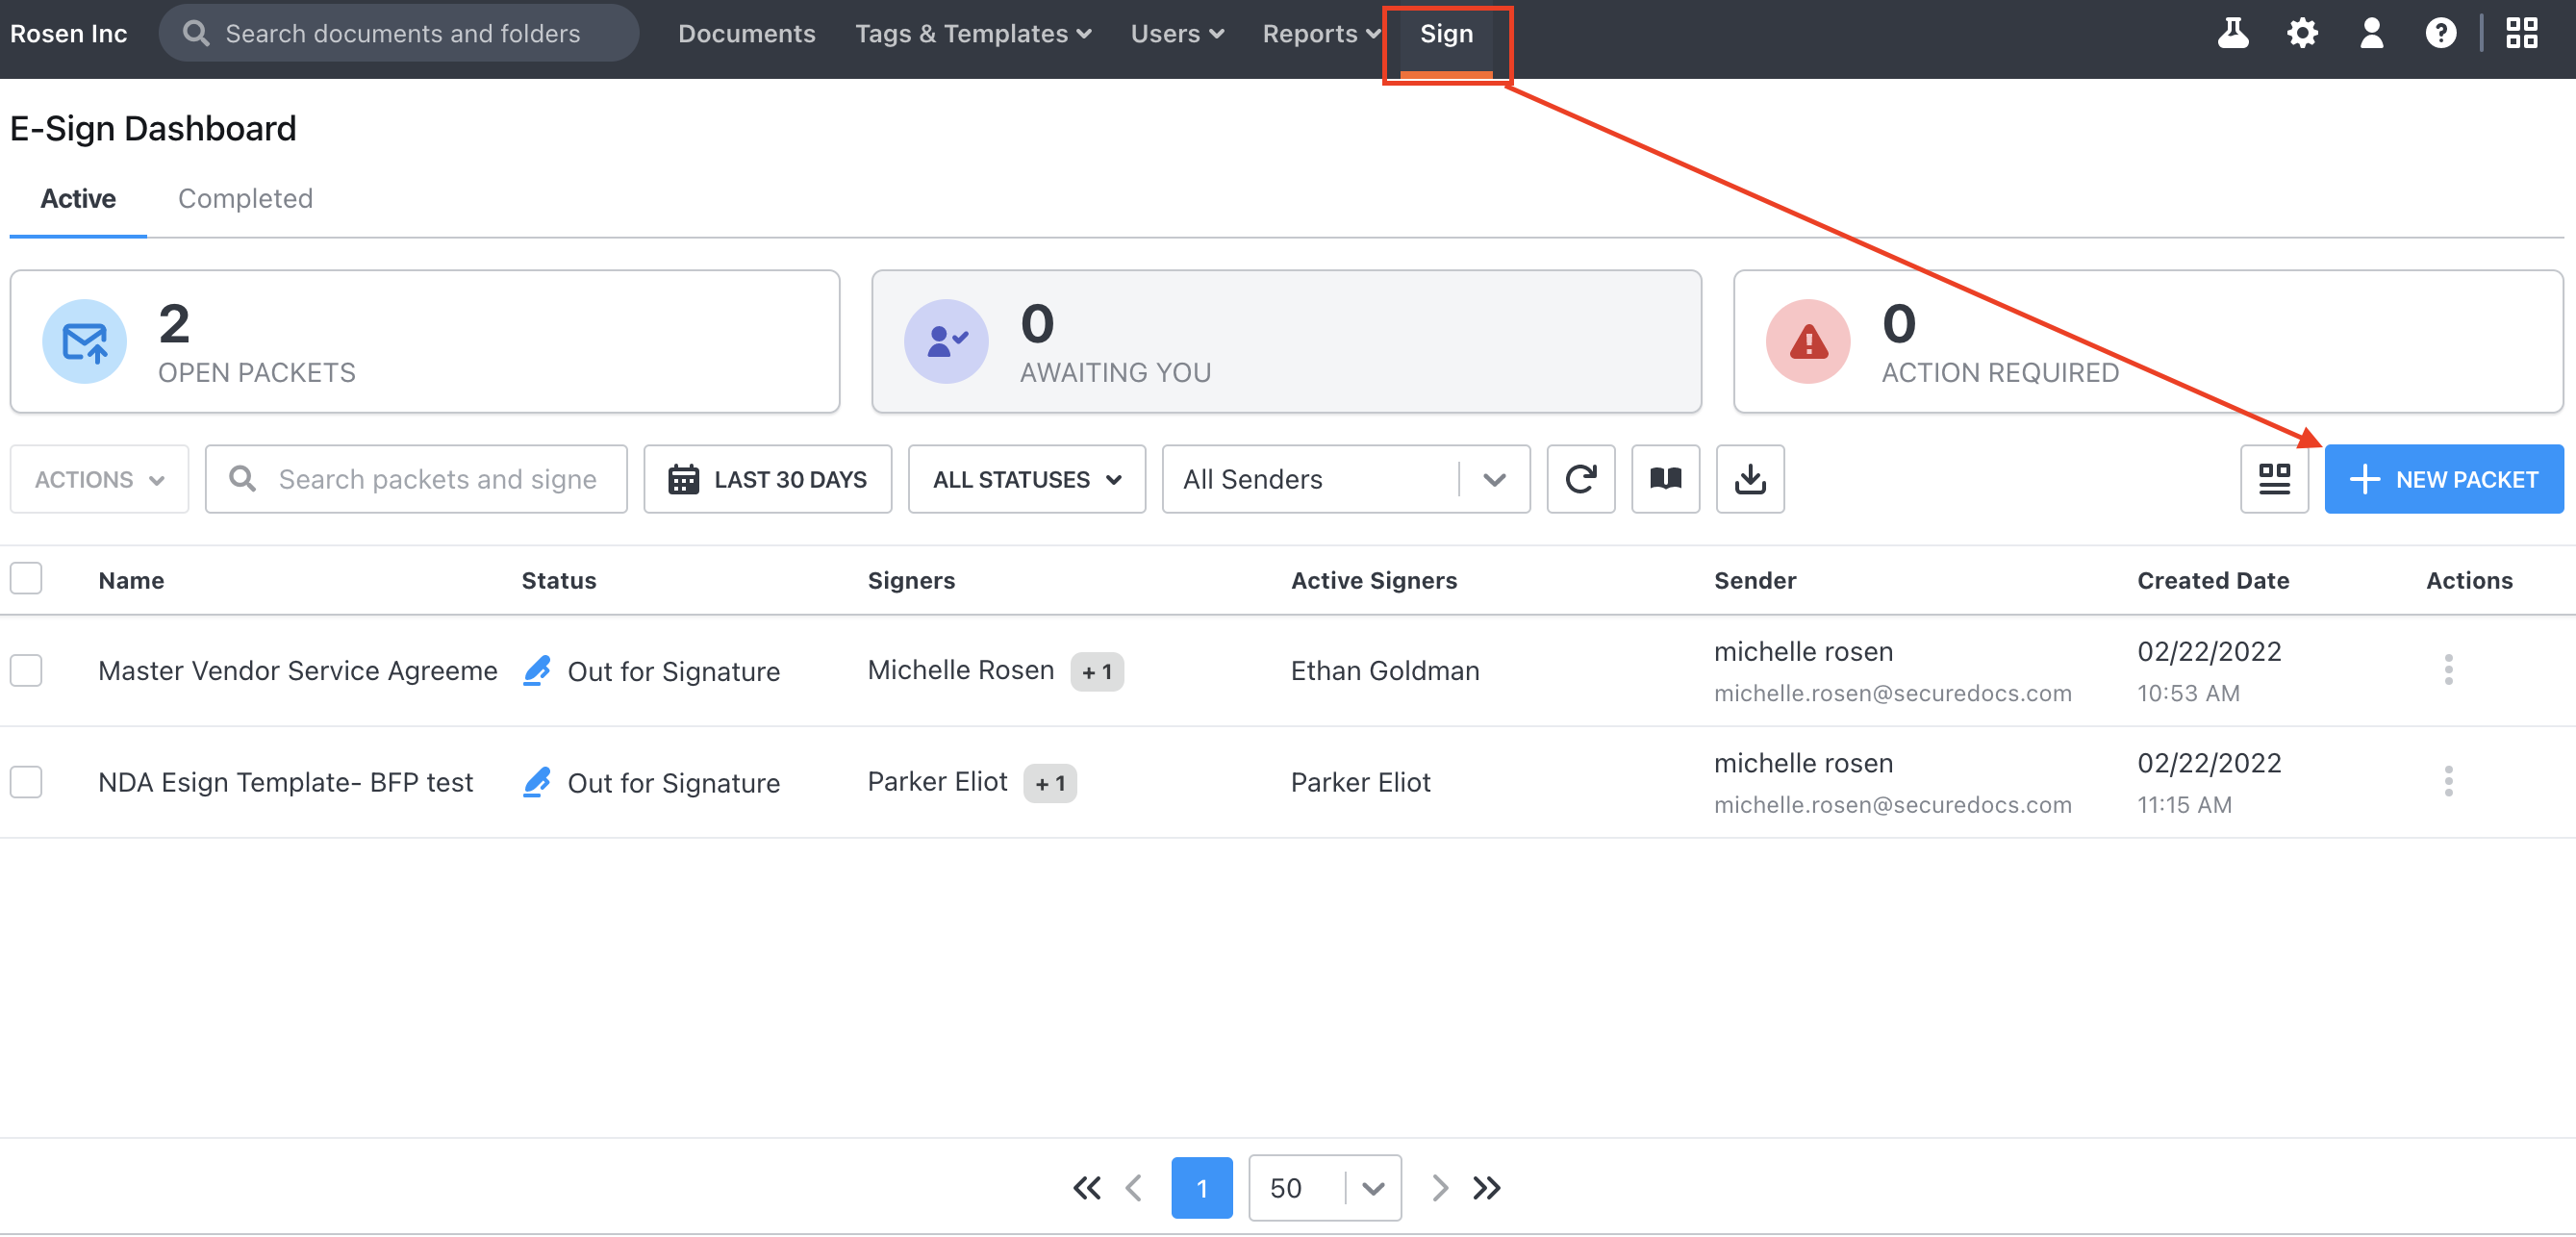
Step 1: Go to the sign tab. All available E-Sign templates will exist under the New Packet button.

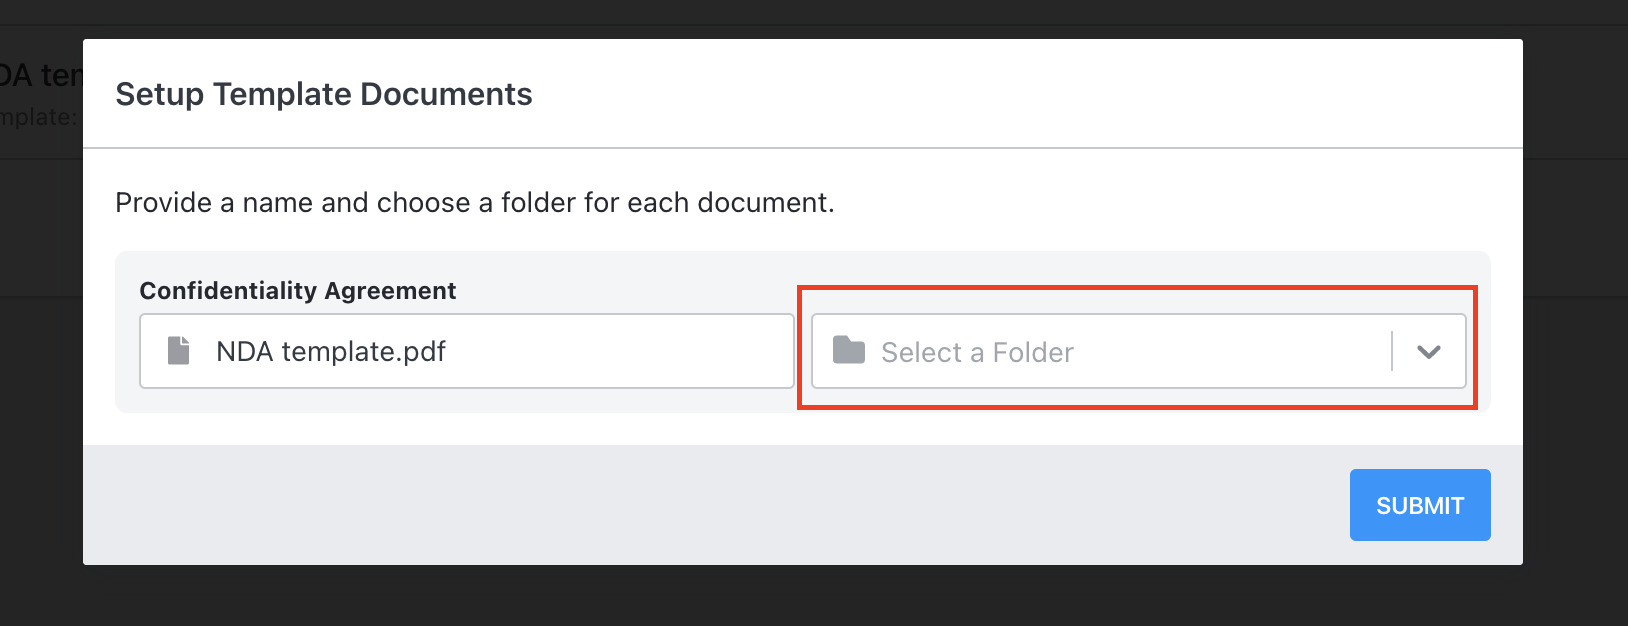
Step 2: Click on the document you wish to create to send for signature. You will be taken to a screen with the selected document. This is where you will be prompted to select a folder for the document to be saved in.

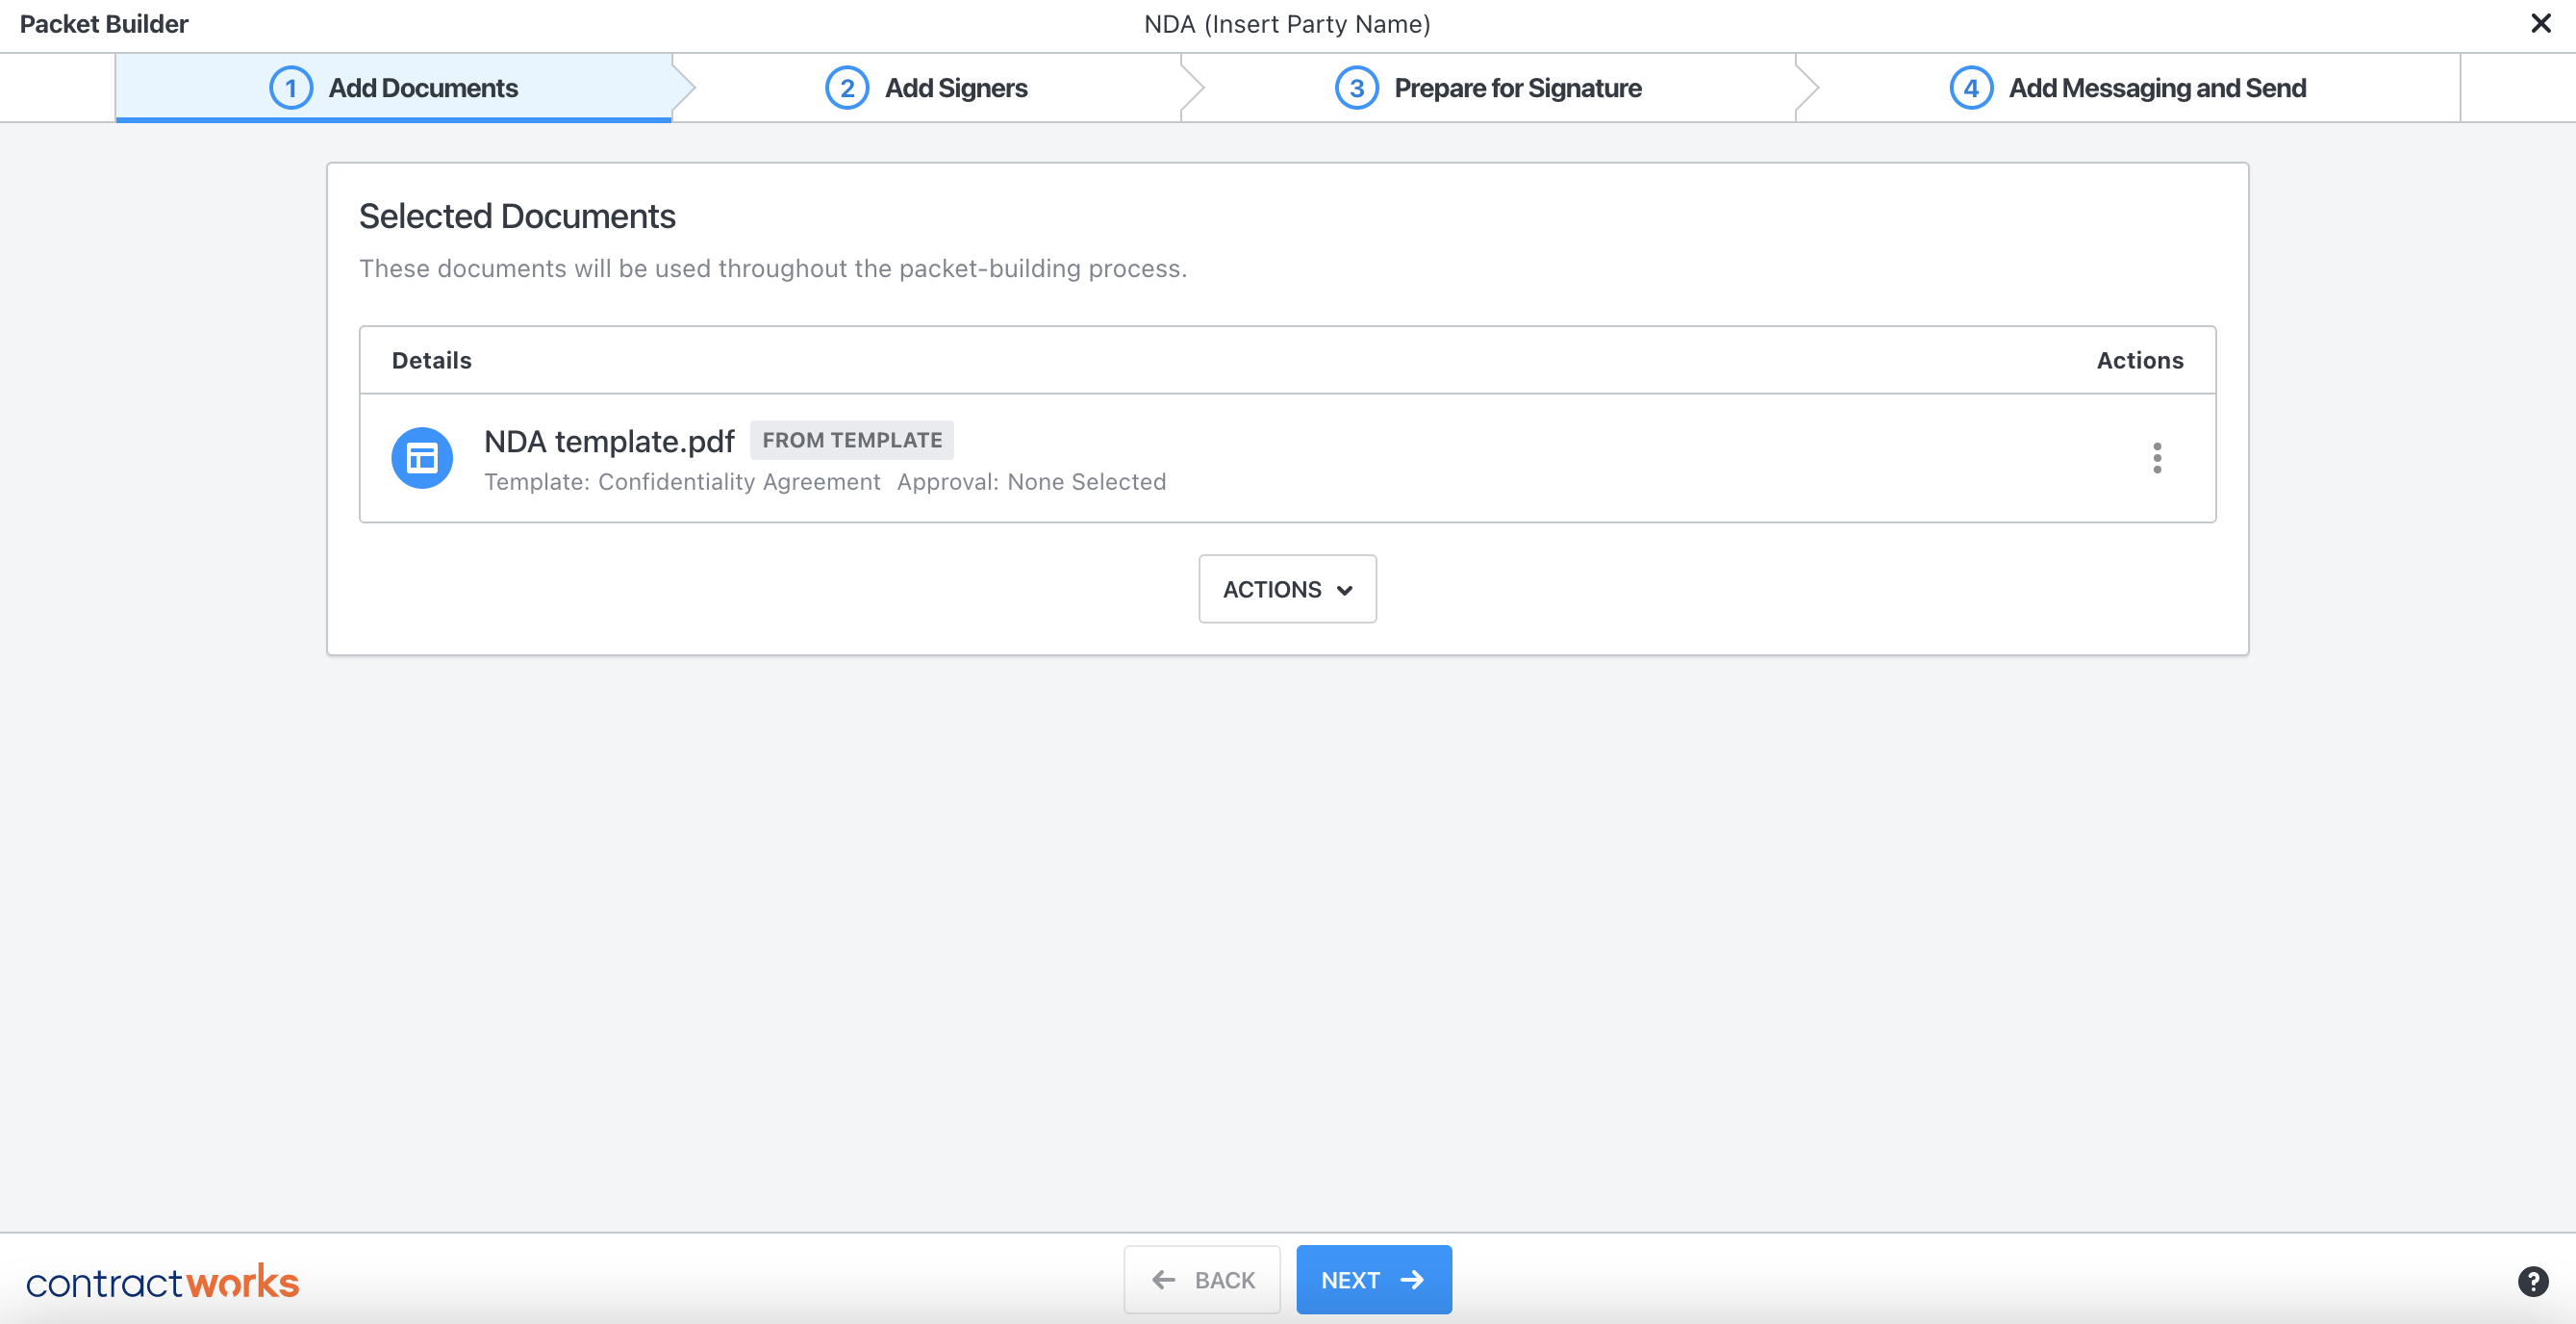
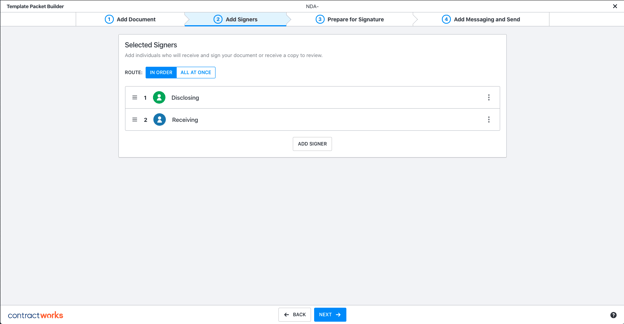
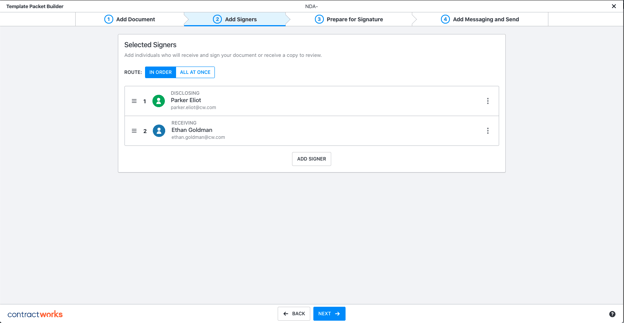
Step 3: Click next to add your signers. Fill in the specific signer details by clicking into the nickname of the signers available. Any information placed on the template level can be modified if the field, or signer information does not apply.

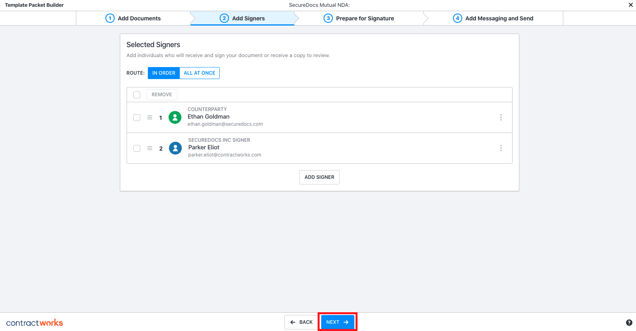
Step 4: Once all the information has been completed, you will be allowed to press the Continue button to review the contract.
Step 5: Fill in the applicable information on the template. This includes any form fill fields or “Pre-Filled Detail”.
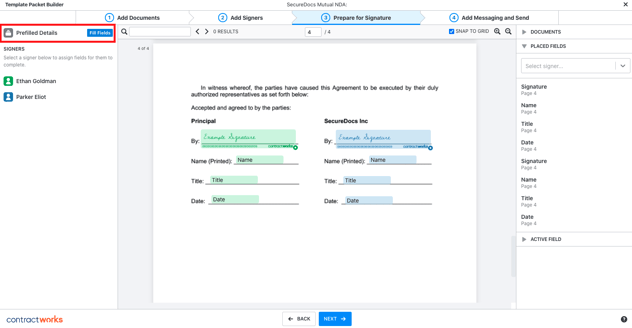

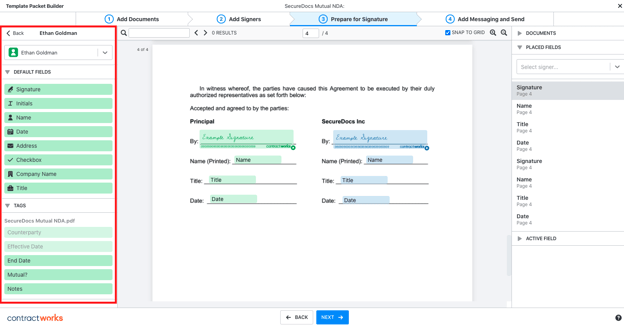
Step 6: Review the contract to ensure all fields are entered correctly. Additional information can be added using the left column. A pre-filled detail can be added if more information must be added in the document. You can also add in additional fields for signers to enter by clicking the signers name and dragging the fields onto the contract.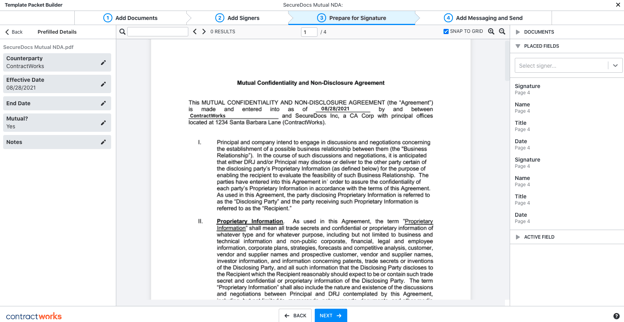
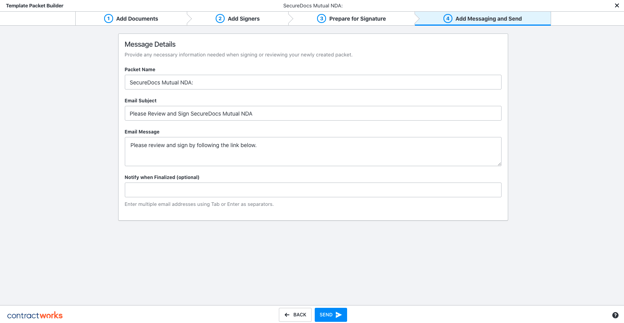
Step 7: Click next to add any specific messaging details, such as Packet Name, email message options, or email addresses of those who need to be notified when finalized.. Press Send to finalize the packet and send for signature.
Step 8: The document will process. During this time, ContractWorks is creating the contract, sending to the appropriate signers, and uploading the contract into the chosen folder. Once processing has completed, you will be taken to the audit log. You have now completed sending a template for signature.![]()
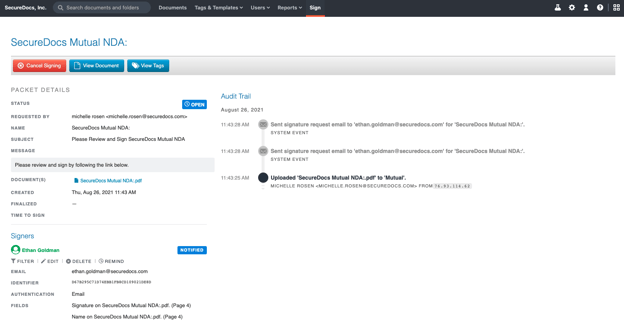
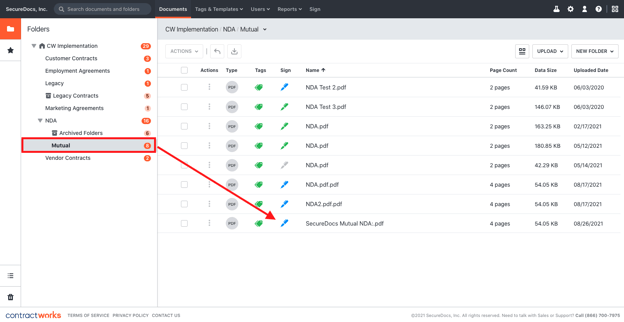
Step 9: The document now lives in the repository under the chosen folder. If you need to check on the progress of the document, you can click on the pen icon to be taken to the audit log. Once finalized, the pen icon will turn green and the contract will be re-uploaded to reflect the new signatures.